1
Download Deneyap Web Agent
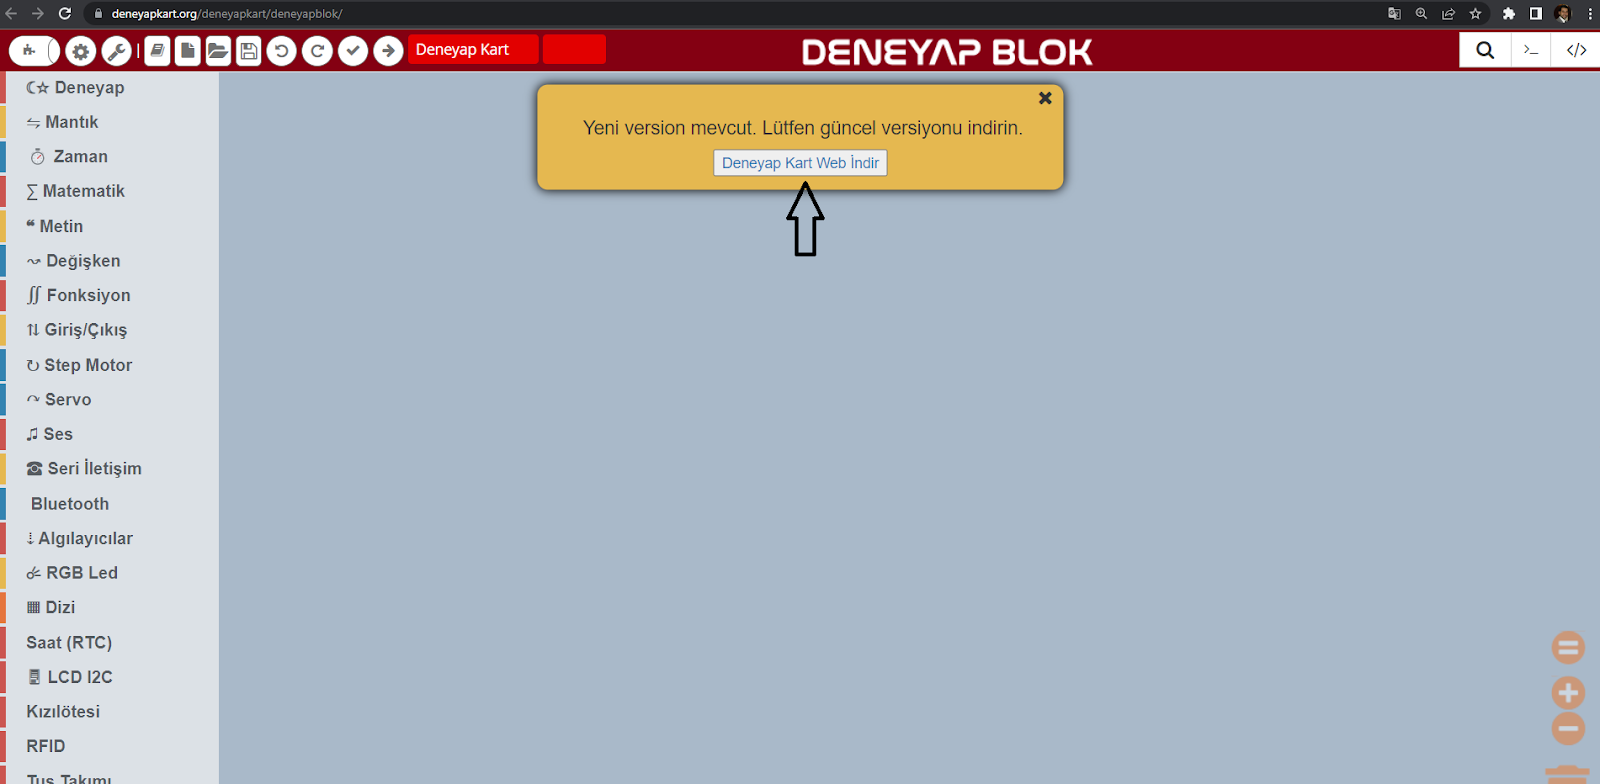
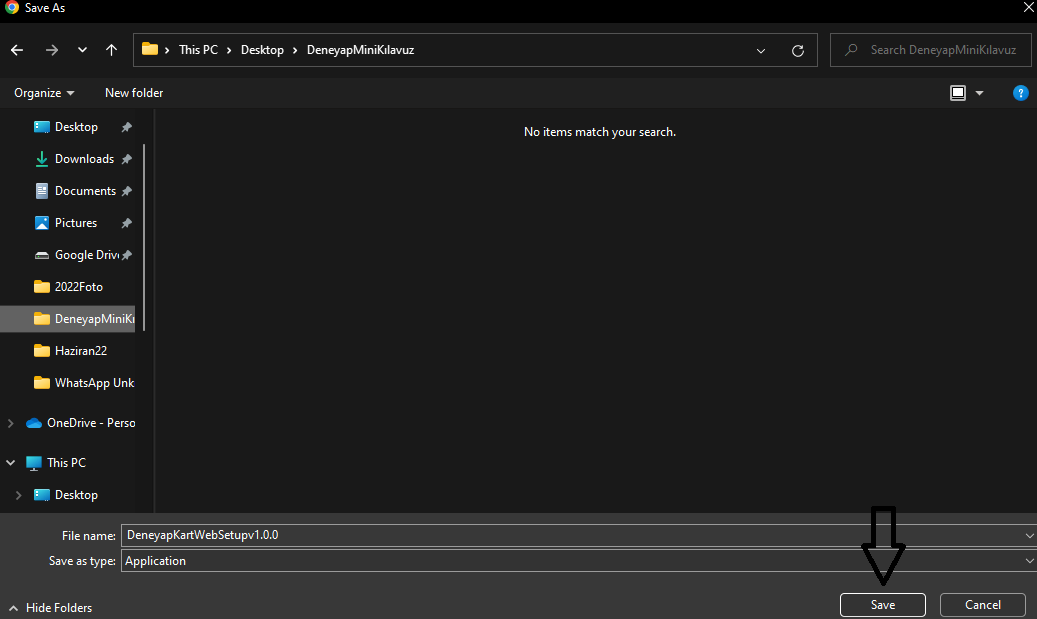
- In the window that opens, click the “Save” button to download the program to your computer.
2
DENEYAP Kart Web Blok Installation
- After the download is completed, start the installation process.
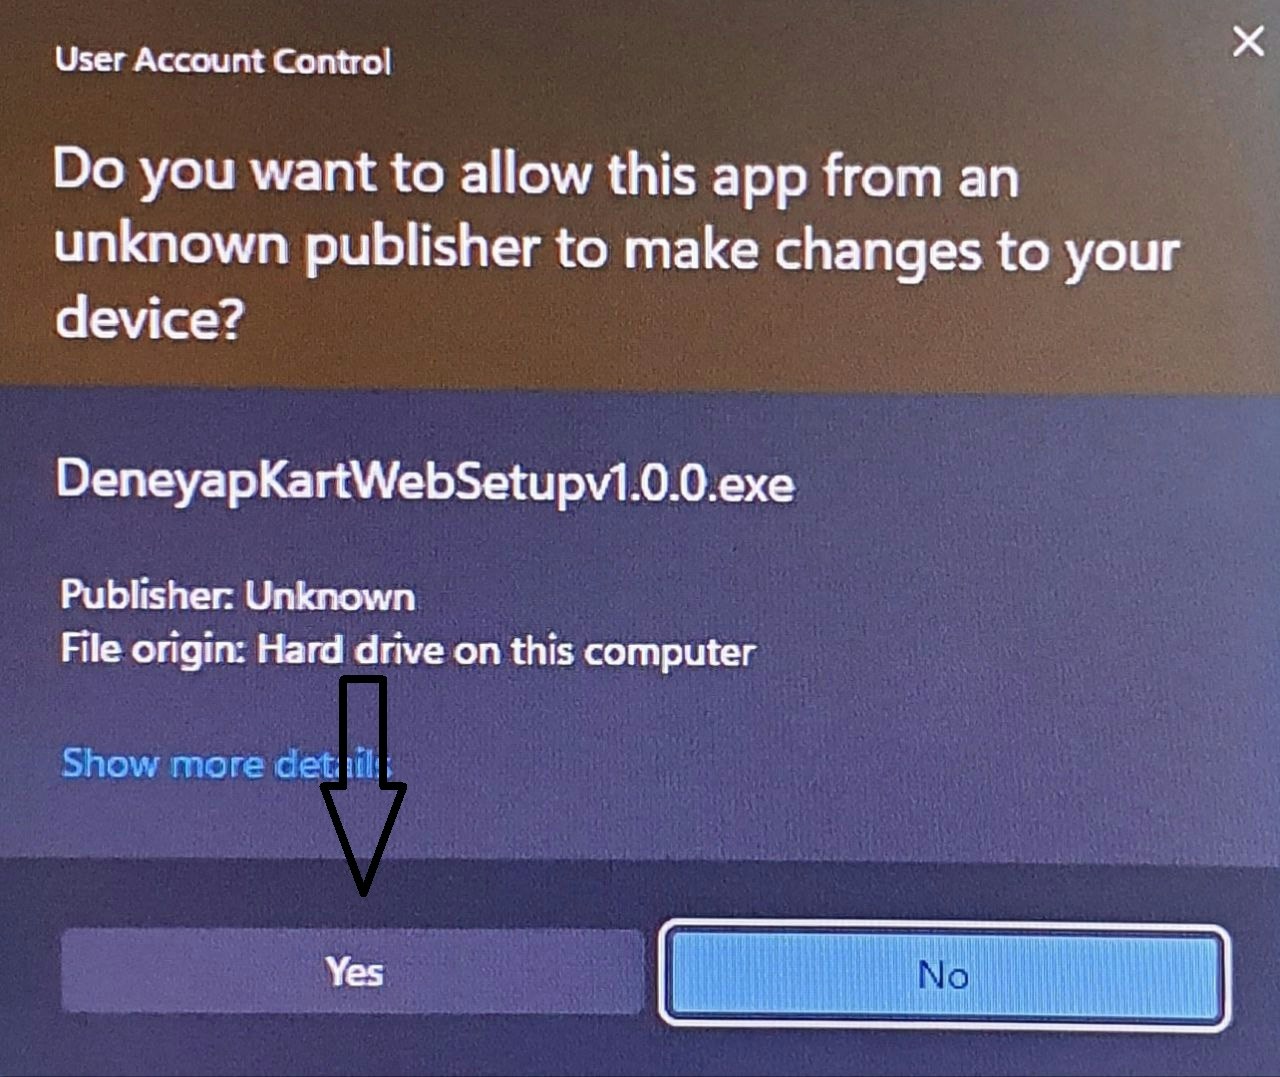
- When you run the installation file, click the “Yes” button to start the setup.
3
Windows Security Warning
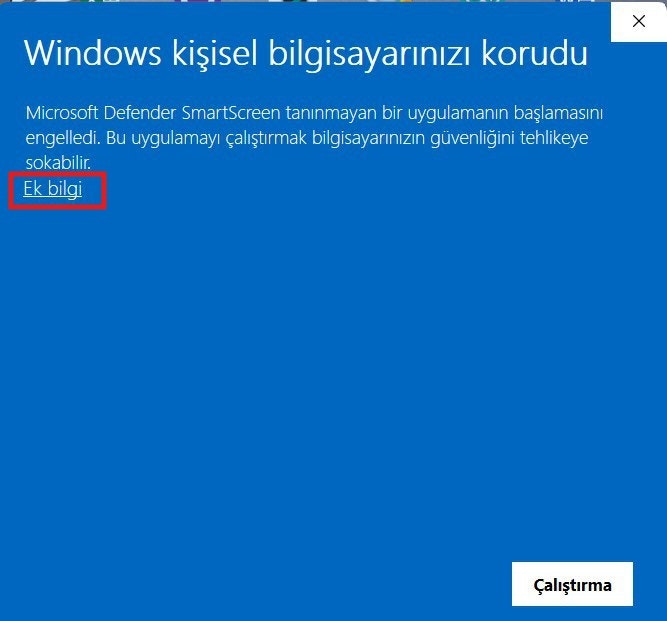
- If this screen appears when you run the installation file, first click the “More info” button.
4
Windows Security Warning – More Info
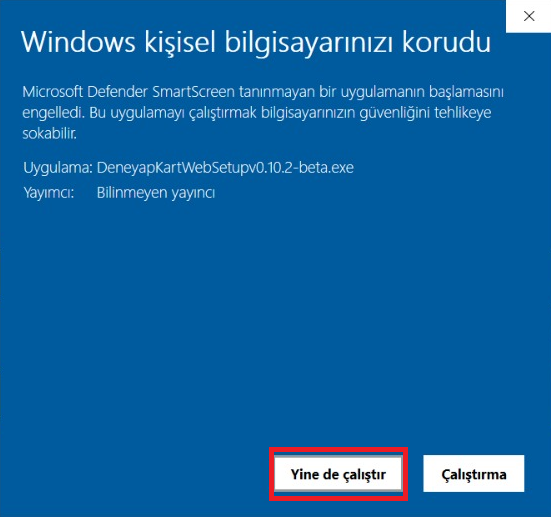
- After clicking More info, select “Run anyway” on this screen and then proceed with the installation.
5
Deneyap Blok Installation – Language Selection
- In the first step of the installation, you will be asked to select a language. Choose your preferred language and click the “OK” button.

6
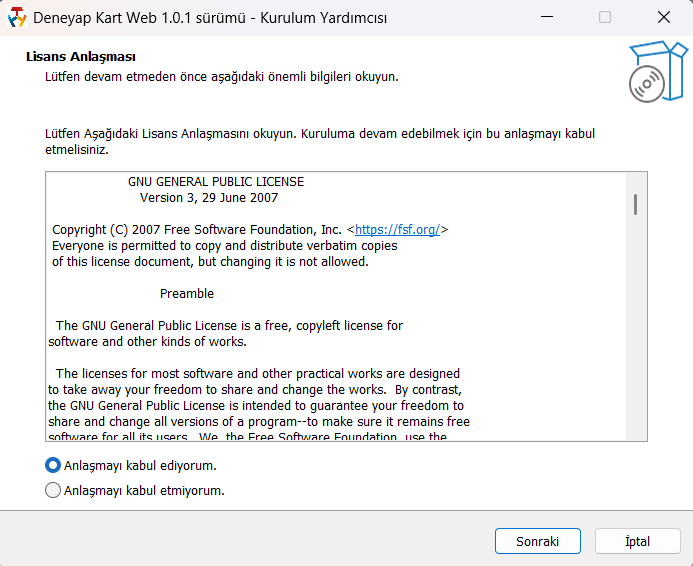
Deneyap Blok Installation – License Agreement
- On the next screen, approve the license agreement (I accept the agreement) and click the “Next” button.
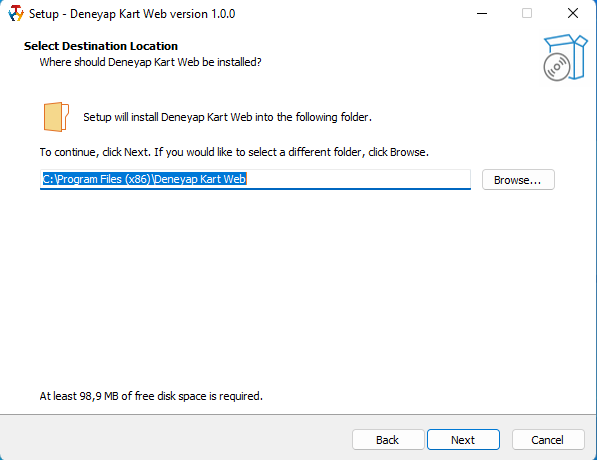
- The following screen shows the installation directory. Click “Next” to continue the installation.
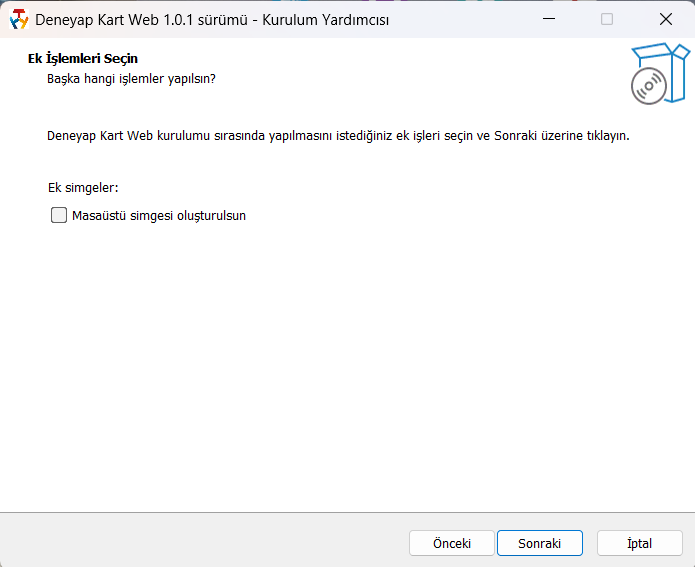
- On the next page, choose whether to create a desktop shortcut and click “Next” to continue.
7
Deneyap Blok Installation
- On the displayed screen, click the “Install” button to start the installation.
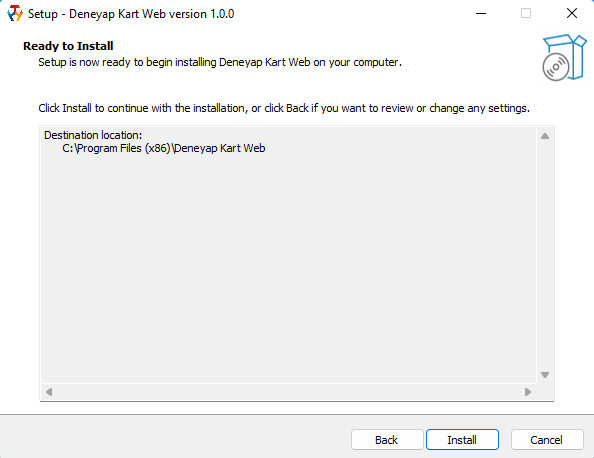
- After the installation is completed, click the “Finish” button.
